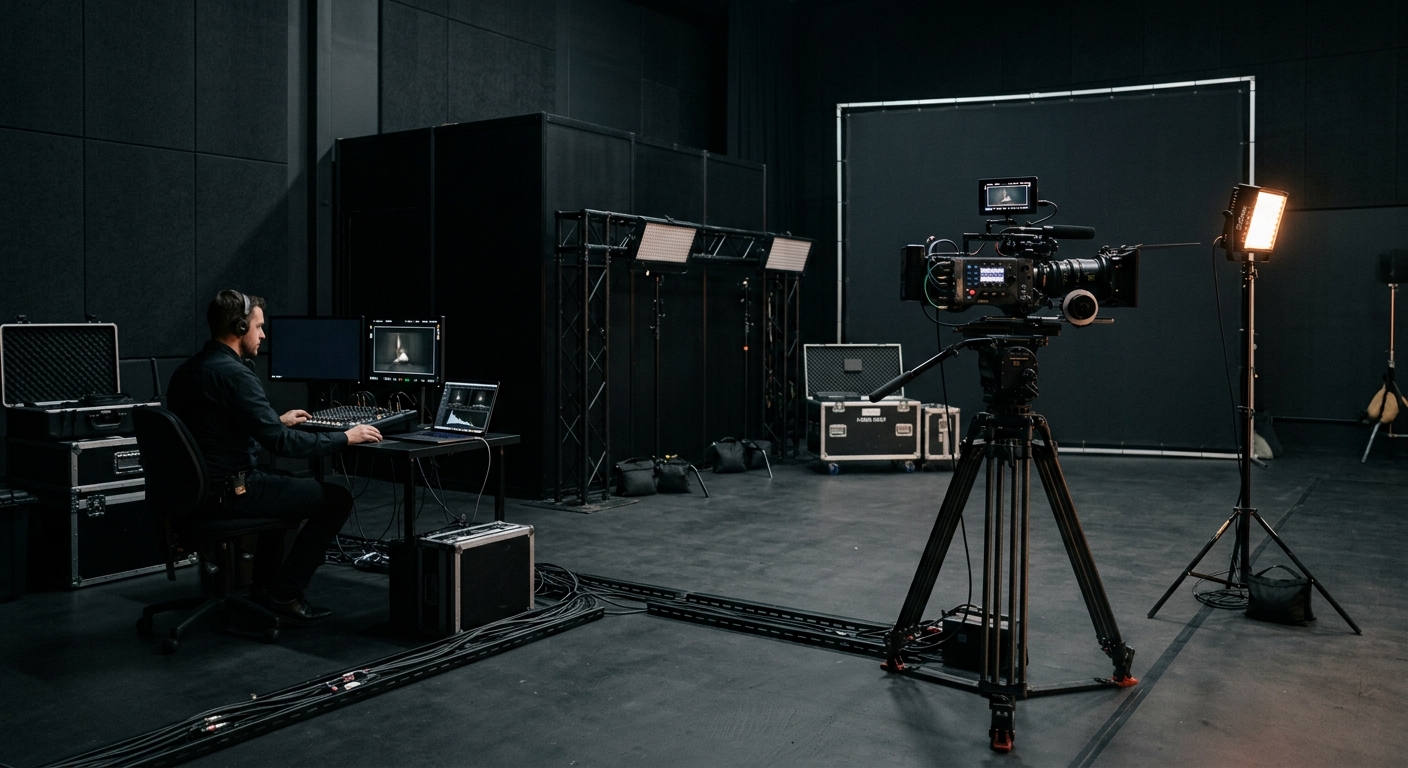
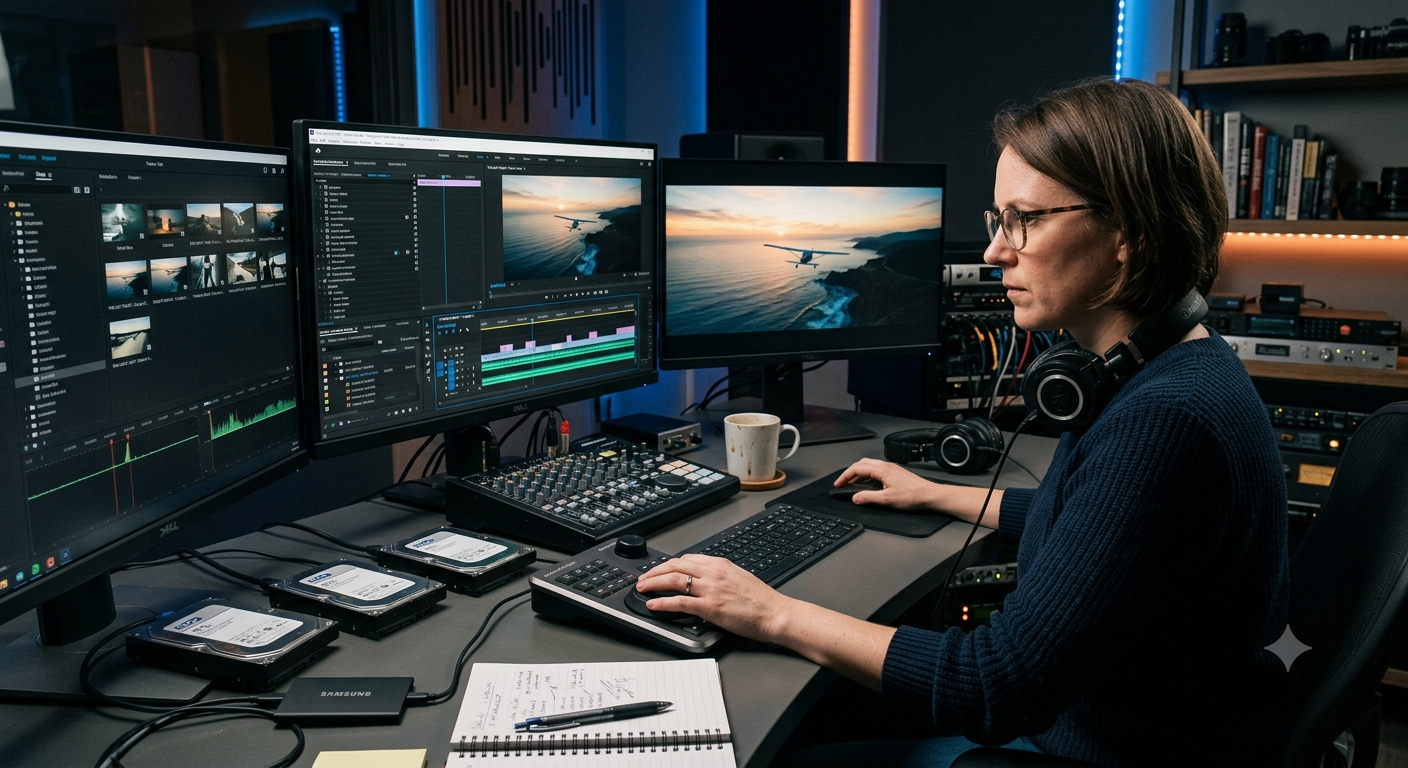
Video editing is the art of refining raw footage into compelling stories for your audience. Whether you’re creating videos for social media, YouTube, or personal projects, understanding the basics is essential. Any video editor who wants stronger skills should know this, and choosing music thoughtfully can build editing skills by shaping mood and atmosphere. This beginner’s guide will help you get started. In addition, consistent practice is one of the best tips for beginners.
Choosing the Right Software
The first step in video editing is selecting the right video editing software. Good editing software should be easy to learn, and most editing software includes a timeline plus basic features like cutting, trimming, and joining clips. Popular options include Adobe Premiere Pro, Final Cut Pro, and DaVinci Resolve. For beginners, simpler programs like iMovie or Adobe Premiere Elements are great starting points. iMovie and Clipchamp are free options. Moreover, look for professional tools with responsive support, clear tutorials, and helpful youtube videos so your skills progress as you learn.
Importing and Organizing Your Footage
Once you’ve chosen your software, start a new project by importing media and setting basics like frame rate. Organize files into a structured folder system to save time in post. Create subfolders for each camera used in a project, and back up your footage in multiple locations. This will make the editing process smoother and more efficient.
Basic Editing Techniques
Start by learning how to edit videos by cutting, trimming, and removing mistakes from each shot before arranging clips on the timeline. The timeline displays your footage from start to finish, so familiarize yourself with it early. Pay attention to pacing to keep your audience engaged—too slow, and you’ll lose viewers; too fast, and your message might get lost. For example, cutting on action lets one clip replace another smoothly within a scene. This technique helps create the feel of one shot without a visible cut. An editor can also use split edits like j cuts or l cuts to improve dialogue flow.
Adding Transitions and Effects
Transitions help create a flow between clips. Common transitions include fades, cuts, and dissolves. Use them sparingly to keep your video polished. b roll footage is supplementary footage that can cover edits. Also, wide shots usually work best at the start of a scene to establish context before you move to tighter framing. Using three shots in a row often feels natural. You can also experiment with effects like color correction and color grading. Grading helps set the mood in a scene, correction can evoke emotion, and DaVinci Resolve is known for these features. Meanwhile, Adobe Premiere Pro integrated SpeedGrade in 2017. Add audio carefully, including background music, balanced volume levels, audio mixing, stabilization for shaky footage, and other advanced techniques as your abilities grow.
Exporting Your Final Product
Once your project is complete, export the final video. Make sure to choose the right settings for your intended platform, whether it’s YouTube, Instagram, or another outlet.
With these basics, you’re well on your way to creating engaging and professional-looking videos. Happy editing!